Create a Google Account

First Things First
Whether you are a boot camp participant or participating in our year-long program, you will need an email address to access our website and to exchange documents in our program. We are a Google Partner in Education and use the secure Google platform to exchange and to maintain documents. The most efficient way to participate in our program is to create a Google Account and Gmail address. However, other email addresses, such as Yahoo, Hotmail, and icloud can be used.
We advise against using email addresses associated with your school, e.g., myname@lakecityhigh.org. Email addresses associated with specific schools or school districts often restrict document sharing outside of the school or school district.
Middle School Students: Middle school students attending one of our college planning boot camps for middle school students, who are under the age of 13, cannot create a Google Account without the permission and assistance of a parent.
Set up a Gmail Email Address: Even if you already have a gmail address, we advise that you set up an email address that you use exclusively for college planning, from which you will forward all emails to your parent or a mentor (or to your personal email address if you do not have a parent or mentor supporting your college planning). Many high schools advise students to set up an email address used exclusively for supporting their college applications. However, we do not believe in waiting until your senior year of high school to take this action as your college planning should be finalized by the end of your junior year of high school, not beginning in your senior year of high school!
Note: If you are in a situation where you do not have a parent or mentor who can assist in monitoring your emails, then set up the Gmail address that you will use for our online program to forward to your personal email address.
 Each Gmail Address is Associated with a Single Google Account: Each gmail email address can only be associated with one Google Account. So if you have a personal Google Account or one used with your school, you will need to set up a Google Account that you will use exclusively for our program and for communicating with colleges. This will be the account from which you will share documents with our program or your local cohort facilitator.
Following are important guidelines:
- Keep in mind that you will no longer use an email address issued by your school district, such as johnsmith@lakecityhigh.org, after graduating from high school. You will also need to use the same email address to submit your FAFSA (Free Application for Federal Student Aid) during each year of college in which you are applying for financial aid—but if you are a middle school student that is so far down the road it probably is more confusing than helpful at this point. So for now, let’s just create a Google Account and gmail address to be used with our program.
- If you are sociable, you probably receive hundreds of texts and emails daily from friends, so in the future, it will be easy for important emails from colleges to be overlooked. If you are not sociable, then you probably do not check your email regularly, so it still will be easy for important emails from colleges to be overlooked.
- Our primary communication is with students. In fact, many emails are sent directly from our online classroom. Consequently, the only way to ensure that parents are aware of all of our communication with students is by setting up the student’s email address (the one being used for our program) to automatically forward to parents.
- Whether you are communicating with Mr. and Mrs. Wynn (Program Developers/College Advisors) or with your local cohort facilitators, your emails should have an email signature that clearly identifies who you are and where you attend school.
- Your email address should be appropriate and professional, such as, johnsmith_class_of_2020@gmail.com; johnsmith_webdesigner; johnsmith_artist;@gmail.com; or johnsmith2020@gmail.com. The point is that now is the time to begin promoting your brand, or at least ensuring that the admissions and financial aid officers, or scholarship providers know your name.
Again, if you are a middle school student participating in one of our college planning boot camps and you have an email address like darthvader@gmail.com or death_and_destruction@yahoo.com, we will not judge, we simply need for you to develop an email address more appropriate for our program.
Note: 13 is the minimum age to create a Google Account.
Step 1: Note that each of the following steps provides an example of what you should see on your computer screen as you complete each step. Click here to go to the Gmail Account page where you may create a new Google Account or sign in to an existing Google Account.
Step 2: After clicking onto “Create an Account” on the top right of the screen will take you to the Create your Google Account page.

STOP: After entering your information, write down your new email and password. If you have a cell phone, take a picture of your email address and password.

Step 3: Open the Google Apps Menu: Once you sign-in to your Google Account (see above), you will see 9 dots (a matrix of 3 rows and 3 columns) on the top right of your sign-in screen (next to your photo or image if you have not uploaded a photo).
Clicking onto the matrix will reveal a menu of Google apps
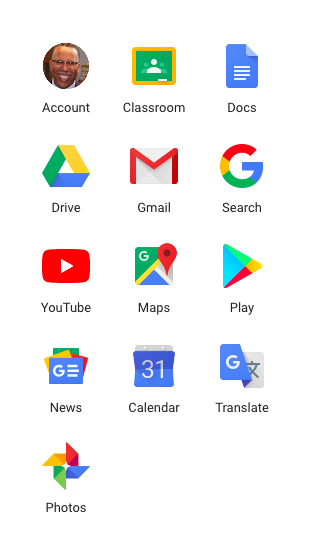
The primary Google apps that will be used in our program are the Drive, where we will exchange and maintain documents and Gmail, the email address to which we will communicate and share documents.
Note: In various lessons, we will provide you with a link to a document on our Google Drive. You cannot edit these documents, but must first make a copy of the document, which then stores the newly created document on your Google Drive. At that point, you must add your name to the document name (always in the top left of your screen) and select the ‘Share’ icon (always on the top right of your screen) and add our email address (cpc@collegeplanningcohort.com) or the email address of your cohort facilitator. Now your newly created document will be reviewed and updated throughout your participation in our program.
Step 4: Open Gmail: Select the ‘Gmail’ icon to open your Gmail email account.
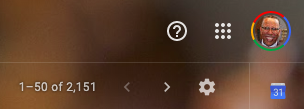
Step 5: Open Your Gmail Settings: After entering into your email account, select the ‘Gear’ on the top right of the screen below the 2 rows of dots, (see above) located on the same line that shows how many emails are in your inbox. This icon is where you will set up your email signature and the emails to which you will begin forwarding emails.

Step 6: Create Your Settings: From the Settings Menu (see above), select ‘Settings’ to create the following settings:
The SettingsMenu allows you to set up your gmail email account in many ways. However, the only settings with which we are concerned are your email signature and ensuring that you setup your email account to forward emails to someone to ensure that you do not miss important emails.
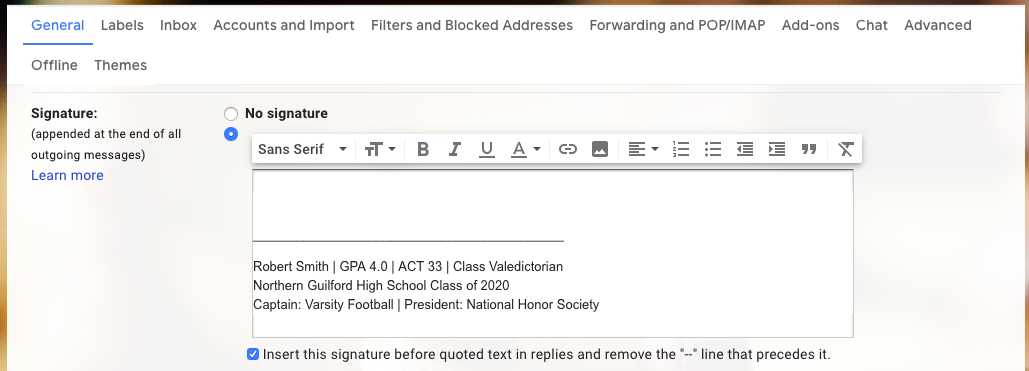
The first menu on the Settings screen is ‘General’ (see below). Scroll to the bottom of the menu and select ‘Signature.’
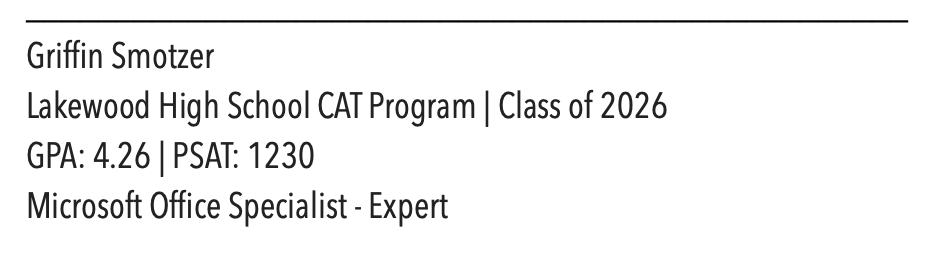
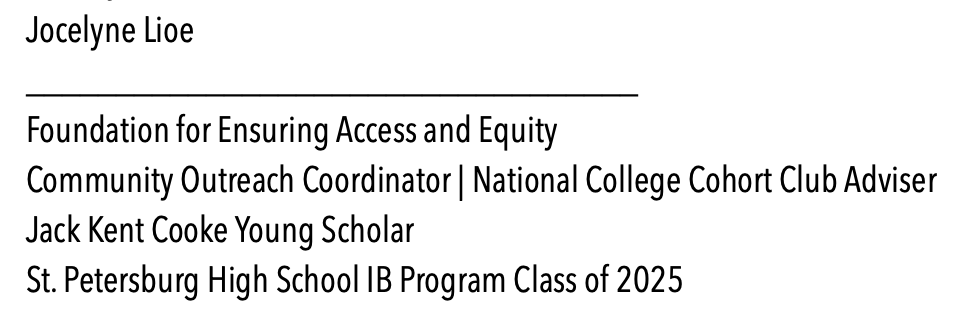
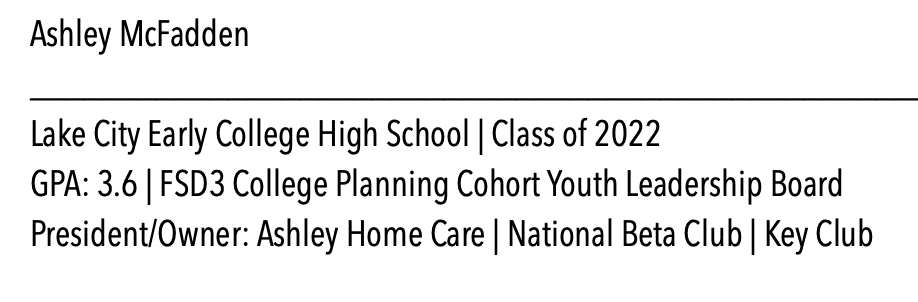
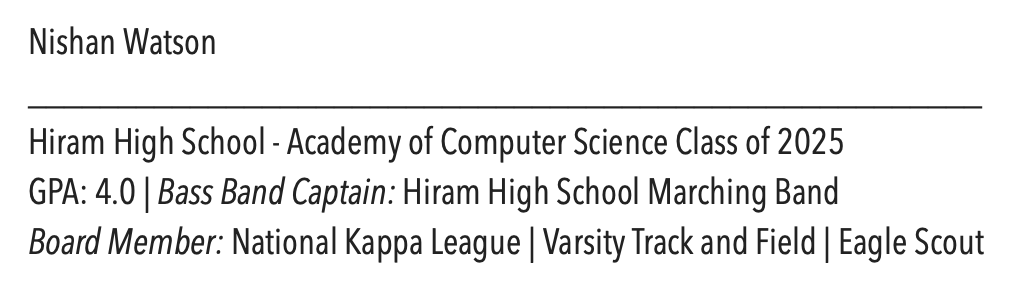
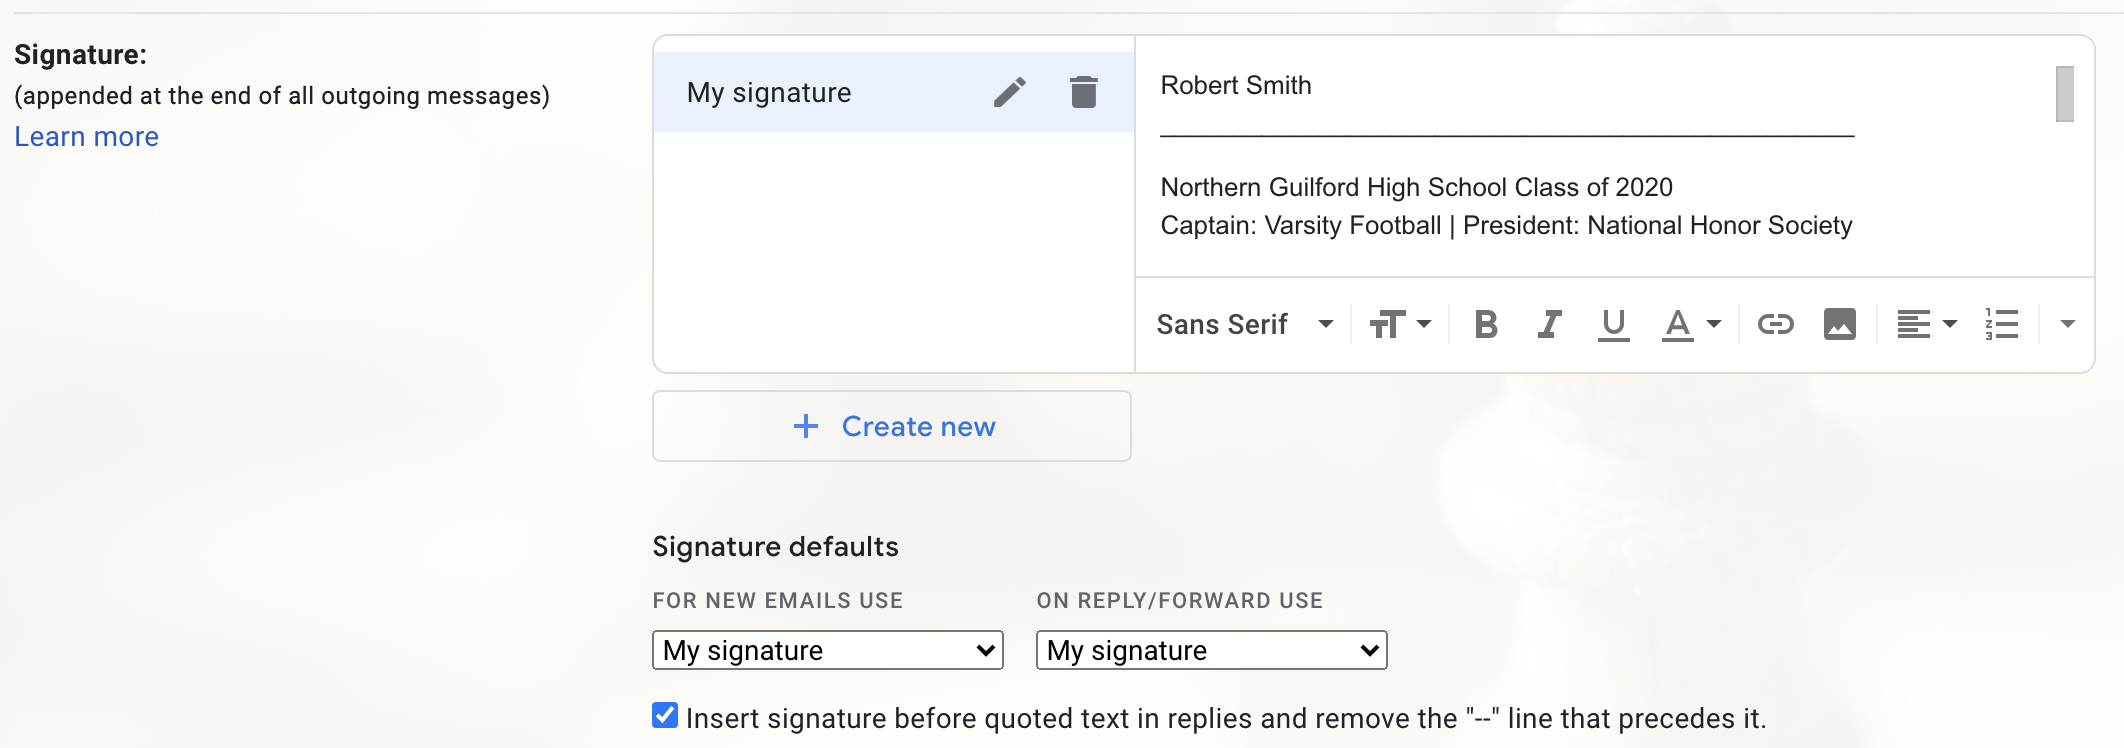 Following is our recommended format for your email signature (Note: Hold ‘Shift’ when you press ‘Return’ to reduce the amount of space between lines):
- Add a ‘_____________________________________________________’ as long as the name of your high school and graduation year
- Enter your name on the next line
- Enter the name of your high school and graduation year on the next line
- Enter one or two awards, or leadership roles on third line
- If you have impressive academic credentials and class rank, you may enter them on the second line with your name, so that you have an email signature as show below


Note: We will explain the importance of email signatures in more depth in lessons in our online classroom, at which time you may make further updates to your signature.
Step 7: Set Up Email Forwarding: From the Settings Menu (see above), select ‘Settings’ to create the following settings:
The fourth menu on the Settings screen is ‘Forwarding and POP/IMAP’ (see below).
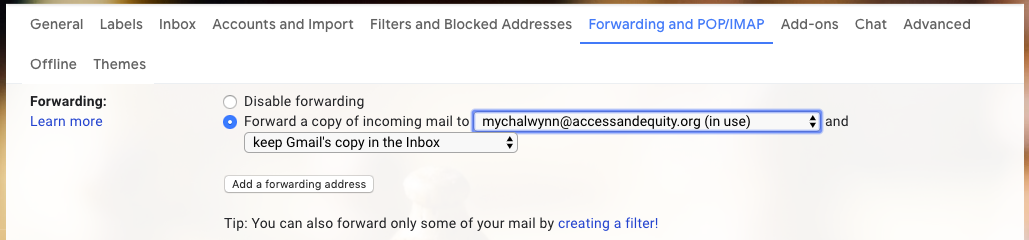
You must select ‘forward a copy of incoming mail to.’Enter the email address of the parent to whom emails are to be forwarded.
Step 8: Setup Your Email Address on Your Phone: Click here for instructions for setting up your Gmail email address on an iPhone or click here for instructions on setting up Gmail email address on an Android.
Step 9: Sign up for Our Newsletter: Our College Planning Newsletter is released on the first of each month. The newsletter provides important information regarding meeting times and locations and important actions to be completed by students participating in our program. Click here to sign up with the email address address that you will be using for our program. Please sign your parents up to receive the newsletter as well.
Final Step: Send an email to cpc@collegeplanningcohort.com from your newly created Google email address:
- Include the name, and email address, of each person to whom you have set up your email to automatically forward.
- Confirm that you receive a copy of the email on your phone.
- Confirm that the people to whom you set up the email to automatically forward receive a copy of the email to their email address.
- Confirm that you email signature automatically displays whether you are responding to an email from your Gmail Account or from your cell phone.